
This ActiveCampaign setup guide walks you through the essential setup steps so you can build on a clean, reliable foundation.
Getting started with ActiveCampaign is exciting, but the first setup can also feel more technical than expected. The platform is powerful, which is great once everything is in place, but that same flexibility can lead to confusion if you jump in without a plan.
A good setup saves time later. It helps you avoid duplicate contacts, messy tags, weak automation logic, and reporting that does not reflect what is really happening in your business.
In this guide, you will learn how to set up the core parts of ActiveCampaign in the right order, what matters most for day one, and how to create a structure that stays manageable as your audience grows.
Affiliate disclosure: This article may contain affiliate links. If you purchase through these links, we may earn a commission at no additional cost to you.
Introduction
ActiveCampaign combines email marketing, automation, contact management, forms, and CRM features in one platform. That makes it useful for creators, online stores, service businesses, consultants, and teams that want to send more relevant messages without doing everything manually.
The challenge is that many new users try to set up everything at once. They create too many tags, import contacts without cleaning data, or build automations before deciding how their list should be organized. The result is often a system that works, but feels harder to manage than it should.
This guide focuses on a practical setup path. Instead of trying every feature immediately, you will build a simple structure first, then add more advanced pieces with confidence.
Personal Insight
One of the most common patterns I see with ActiveCampaign is that early setup decisions affect almost everything later. When naming, tagging, and automation rules are clear from the start, the platform feels far easier to use.
The users who get the best results usually keep their first setup simple. They do not try to build a perfect system on day one. They build a usable one, test it, and improve it over time.

What Is ActiveCampaign Setup and Why It Matters
ActiveCampaign setup is the process of configuring your account so contacts, campaigns, forms, automations, and tracking all work together correctly. It is more than just creating an account and sending an email.
A proper setup usually includes:
- Setting business details and sender information
- Verifying your sending domain
- Organizing lists, tags, and custom fields
- Importing and cleaning contacts
- Creating forms and basic opt-in paths
- Setting up automations
- Connecting your website and other tools
- Enabling tracking and reporting basics
If you skip these pieces, your campaigns may still send, but your data may become inconsistent. That makes segmentation harder, automation less accurate, and overall performance more difficult to improve.
Key Features to Set Up First
Account settings and sender details
Start with the basics inside your account settings. Add your business name, physical mailing address, timezone, and preferred sending details. These settings affect compliance, branding, and reporting.
Your sender name and sender email matter more than many beginners expect. Choose a sender identity that people will recognize immediately. Consistency improves trust and can support better engagement over time.
Domain authentication
If available on your plan, set up domain authentication such as DKIM and related sending records through your domain provider. This helps mailbox providers understand that your emails are legitimate and improves deliverability.
It is one of the highest value setup tasks because strong email content cannot do much if your technical sending reputation is weak.
Lists, tags, and custom fields
This is where structure matters. In general, use lists for broad contact categories and use tags for behavior, source, or status. Custom fields are best for storing lasting data such as business type, product interest, appointment date, or account tier.
A simple example might look like this:
- List: Newsletter
- Tag: Webinar Registered
- Tag: Lead Magnet Downloaded
- Custom field: Primary Service Interest
Try to avoid creating too many tags with overlapping meanings. If you are not sure whether information should be stored as a tag or custom field, ask whether it is a temporary action or a stable attribute.
Contact import and cleanup
Before importing contacts, clean your file. Remove outdated addresses, standardize columns, and check for duplicate records. Map fields carefully during import so names, source data, and subscription details end up in the right place.
If your existing audience came from multiple sources, label that clearly. Knowing whether a contact came from a form, purchase, event, or manual import will help with segmentation later.
Forms and subscription paths
Forms are often the first live entry point into your account. Create your main opt-in form, thank-you confirmation, and any automated welcome step that follows. Keep forms simple and ask only for information you truly need.
Every extra field can reduce signups. Start with the minimum, then gather more data later through progressive engagement.
Automation basics
Your first automation does not need to be advanced. A simple welcome sequence is often the best place to begin. It confirms the signup, sets expectations, introduces your brand, and helps new subscribers engage early.
You can also create a few core automations for common needs such as lead magnet delivery, internal notifications, or follow-up after a form submission.

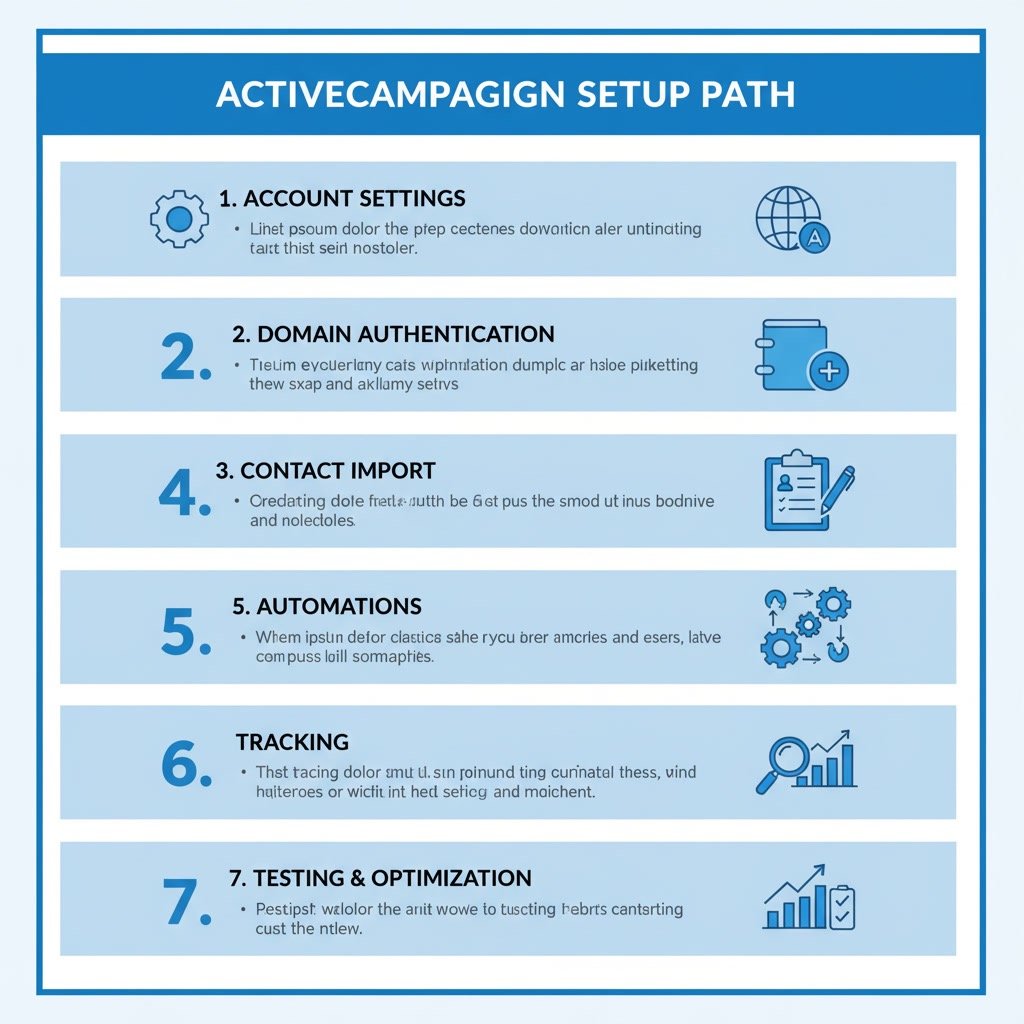
ActiveCampaign setup guide: Step-by-Step Setup Path
Step 1: Define your contact structure
Before creating assets, decide how you will organize people. Write down your lists, likely tags, important custom fields, and the main contact journeys you expect. This small planning step reduces confusion later.
Step 2: Configure branding and compliance settings
Add your logo, sender details, footer information, and company address. Review any subscription and permission settings so they match how you collect contacts.
Step 3: Authenticate your domain
Complete your DNS updates with your domain host if needed. Then test that sending records are recognized correctly. This gives your account a stronger technical base before large campaigns go out.
Step 4: Import a clean contact list
Start with your highest quality contacts, not every address you have ever collected. Small, clean imports are easier to verify and segment than a large upload with questionable data.
Step 5: Create one form and one landing path
Build a basic form for your main newsletter, lead magnet, or consultation offer. Make sure the post-submit experience is clear, whether that is a thank-you page, confirmation message, or automated email.
Step 6: Build a welcome automation
Create a short onboarding sequence that sends immediately after signup. This can include a welcome message, a useful resource, and a short introduction to what subscribers should expect next.
Step 7: Set up tracking
Install any site tracking, event tracking, or integration tracking that fits your account. Even basic page visit data can become useful later when you want to identify engaged contacts or trigger follow-ups.
Step 8: Test the full journey
Submit your own form, receive the email, click the links, and confirm that the contact record updates correctly. Check tags, field values, automation progress, and notification timing.
Use Cases for a Strong Setup
Newsletter-based businesses
If your main goal is regular email communication, prioritize forms, welcome sequences, segmentation fields, and campaign templates. A clean setup helps you send better content to the right subscribers without rebuilding your system later.
Service businesses and consultants
For service providers, setup should support lead capture, consultation requests, follow-up emails, and CRM stages if you use the sales features. Custom fields can store service interest, urgency, budget range, or source channel.
Online stores
Ecommerce users usually benefit from integrations, purchase-based tagging, abandoned cart automation, and behavior tracking. The most useful setup often begins with customer lifecycle stages rather than broad mailing lists.
B2B teams using CRM features
If you are managing leads through a pipeline, your setup should connect forms, contact records, deal stages, and sales tasks. This creates a smoother handoff between marketing activity and sales follow-up.
Best Practices for a Reliable Setup
Start simple, then expand
Do not build ten automations before your first one works well. Start with the smallest useful version of your system and improve from there.
Create naming rules early
Use consistent names for tags, automations, forms, and fields. For example, you might use prefixes like Lead -, Customer -, Form -, or Automation -. This makes your account easier to scan and manage.
Document your logic
Keep a short internal note showing what each tag means, what triggers each automation, and when contacts should move between stages. This is especially helpful if more than one person works in the account.
Use segmentation thoughtfully
Not every difference in user behavior needs its own segment. Focus on meaningful distinctions such as interest, lifecycle stage, or engagement level.
Test before sending at scale
Even small issues can create confusing subscriber experiences. Test with internal email addresses first, then review the contact record after each action.
Common Mistakes to Avoid
Using too many lists
Beginners sometimes create separate lists for every form, lead magnet, or campaign. This often leads to duplication and harder contact management. In many cases, fewer lists and better tagging work better.
Creating unclear tags
Tags like test, followup, warm, or important may make sense in the moment but become hard to interpret later. Use labels that clearly describe what happened or what the contact is.
Skipping contact hygiene
Importing old or low-quality contacts can hurt engagement and deliverability. Quality matters more than list size.
Building automations without goals
Every automation should exist for a reason. If you cannot explain its purpose in one sentence, it probably needs simplification.
Ignoring the subscriber experience
It is easy to think only about backend setup, but subscribers see the end result. Make sure timing, message order, and expectations all feel natural from their side.
FAQ
How long does ActiveCampaign setup usually take?
A basic setup can be done in a few hours if your contact data is clean and your goals are simple. A more complete setup with CRM, automations, integrations, and tracking may take several days.
Should I use lists or tags in ActiveCampaign?
Usually both, but with restraint. Lists are best for broad subscription categories, while tags are better for actions, sources, or temporary states. Custom fields are best for stable data points.
What is the first automation I should build?
For most users, a welcome automation is the best first choice. It is simple, useful, and helps confirm that your forms, email delivery, and automation logic are working correctly.
Do I need CRM features during setup?
Not always. If your business depends on lead management or a sales pipeline, CRM setup makes sense early. If your focus is email newsletters or audience building, you may not need it right away.
How do I know if my setup is working?
Test the full journey yourself. Submit forms, review the contact record, confirm automations run correctly, and check that emails arrive with the right branding and timing.
Is tracking necessary from day one?
Basic tracking is helpful early because it gives you visibility into engagement and behavior. However, if tracking setup feels overwhelming, you can launch with core email functions first and add tracking soon after.
Final Verdict
A strong ActiveCampaign setup is less about using every feature and more about building a system that stays clear as your business grows. If you focus on clean contact data, simple organization, one or two useful automations, and a tested subscriber journey, you will be in a much better position than users who rush through setup.
This approach is a good fit for beginners who want a stable start and for growing teams that want to avoid rebuilding their account later. Keep the structure simple, review your setup regularly, and let your account evolve based on real usage rather than guesswork.
Affiliate disclosure: This article may contain affiliate links. If you purchase through these links, we may earn a commission at no additional cost to you.
Recommended Guides
- How To Use Activecampaign
- Activecampaign Tutorial For Beginners
- Activecampaign Integration Guide
- ActiveCampaign Segmentation Guide: Target the Right Audience
- Activecampaign Crm Guide
- Activecampaign Ultimate Guide